
Imagine having a PDF manual and receiving instant, human-like answers through a chat interface. In this tutorial, I'll show you how to build a PDF-powered chatbot that runs directly in your terminal. We'll use Ink, which brings React's familiar component-based approach to the command line, and Pinecone for lightning-fast vector search to power the knowledge retrieval.
Here is our overall code flow:

Prerequisites
-
An OpenAI API key (or compatible endpoint).
-
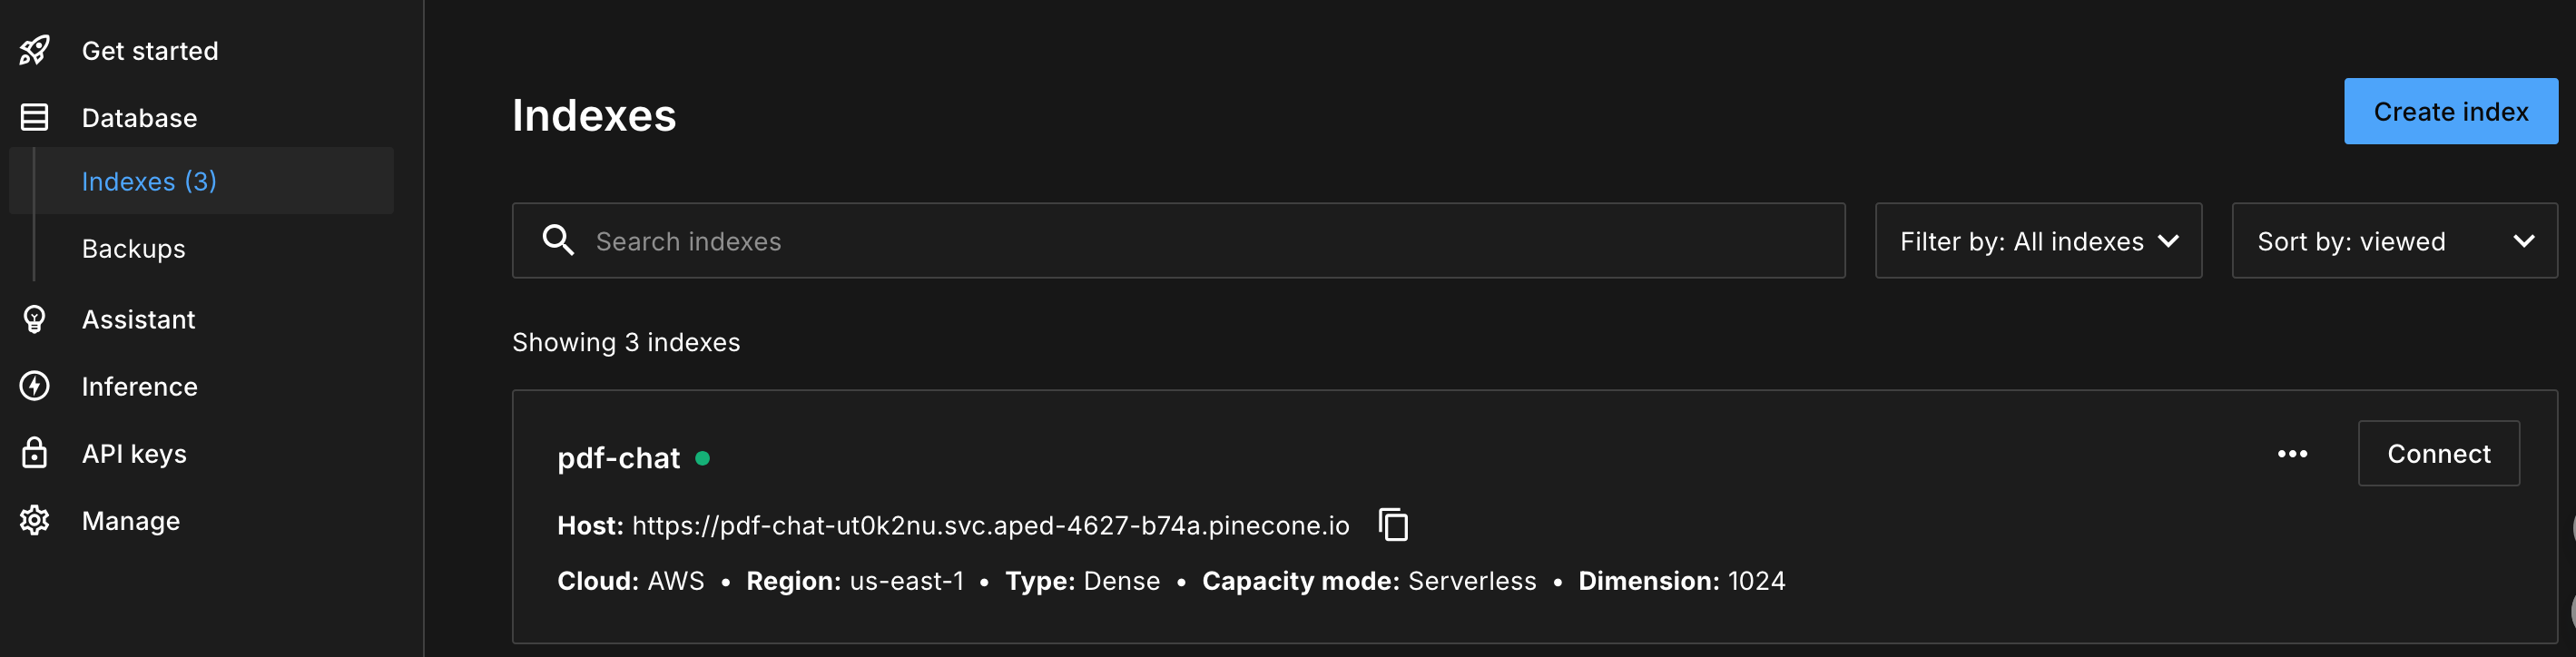
A Pinecone account + API key, and a created index in Pinecone database
Implementation
Project Structure
markdownCopy code
Step 1: Initial Pinecone Client
In pineconeService.ts :
typescriptCopy code
We set up the Pinecone client with an API key and choose an index to store our vectors.
Step 2: Initial Chat Service
typescriptCopy code
The chat service provides chat completions function and embedding function.
Step3: Build Termial Chat UI
The ChatApp serves as our straightforward chat interface. It takes pdfPath as a prop when launched, like this:
bashCopy code
Core ChatApp structure:
typescriptCopy code
Step4: Split and Prepare PDF Chunks
In `pineconeService.ts`, function `embedding` hold the whole logic.
typescriptCopy code
The core of the getDocumentsFromPdf function lies in the prepareDocument logic, which processes each PDF page. Here's how it works:
typescriptCopy code
In this code, prepareDocument removes line breaks and chops each page into 300-char chunks. This ensures the PDF content is ready for further processing or analysis.
`RecursiveCharacterTextSplitter` comes from LangChain and recursively walks through a list of delimiters (newline, period, comma, space …) until every slice fits the target length while preserving sentence boundaries. Splitting the text in this way gives us two main benefits:
1. Semantic focus – each chunk represents a coherent thought, which makes the resulting embedding vector more precise and improves retrieval accuracy.
2. Context safety – by allowing a controlled overlap we keep the context that sits at the edge of a chunk, so answers are less likely to miss important details.
In our example we configured the splitter like this:
- chunkSize = 300` – 300 characters equal roughly 80-120 English tokens (or ~300 Chinese characters). This is small enough to stay far below common model limits yet large enough to hold a full paragraph.
- `chunkOverlap = 20` – the next chunk starts 20 characters before the previous one ends. The small overlap stitches chunks together without creating excessive duplication.
Adjust these values to fit your corpus and embedding model: smaller chunks increase recall granularity but grow the index; larger chunks lower storage cost but may mix multiple topics inside a single vector.
Pinecone restricts each single metadata field to 40 KB. If you try to upsert a document that exceeds that limit the request will fail with a `400 – Metadata too large` error.
`truncateStringByBytes` is therefore a small helper that
1. Encodes the string with `TextEncoder` (UTF-8) so we can count the _real_ bytes, not characters.
2. Slices the buffer to a safe size (here **36 000 bytes** → ~36 KB) leaving some slack for JSON overhead.
3. Decodes the sliced buffer back to a string.
In short: it guarantees that whatever we store in the `text` field will never break Pinecone's size limit.
`metadata.text` itself is not used for the similarity search—the vector already captures the semantic meaning. Instead, we attach the (truncated) original snippet so that when we later call `query` we immediately get the human-readable passage that matched. That allows the chatbot to display citations or highlights without fetching the PDF again.
Step 5: Embed and upload in Batches
Still in `pineconeService.ts`:
tsCopy code
We throttle embeddings with Bottleneck, hash each chunk with MD5, and upsert in groups of 10.
Calling an embedding provider (OpenAI, Anthropic, etc.) too quickly will trigger 429 / rate-limit errors. `Bottleneck` is a lightweight scheduler that:
1. Enforces a minimum delay (`minTime = 50 ms` here) between two calls, so we stay below the provider's _requests-per-second_ quota.
2. Provides a simple `.wrap()` helper that turns any async function (our `getEmbeddings`) into a throttled version without changing its signature.
3. Gives us back-pressure for free—the rest of the pipeline waits instead of spamming retries when limits are hit.
With this in place you can adjust _just one line of config_ to adapt to different API tiers or switch providers.
Pinecone's upsert endpoint also has limits (see [Upsert limits](https://docs.pinecone.io/docs/limits#upsert-limits)): 2 MB / 96 records per request when you include text. By slicing the vectors array into small batches (10 in our example) we:
1. Guarantee each request stays well below the payload limit, avoiding `413 – Payload Too Large` or `400 – RecordTooLarge` errors.
2. Reduce blast-radius—if one batch fails we only need to retry 10 vectors instead of the whole dataset.
3. Unlock parallelism—`Promise.all` lets us fire several small requests concurrently, often finishing faster than a single huge request.
Feel free to dial the batch size up (e.g. 50 or 96) once you're comfortable with your average vector size and network latency.
Step 5: Querying Your PDF Chatbot
In ChatApp.tsx, we query the PDF content that matches the user's input. Here's how it works:
typescriptCopy code
This code handles the chat submission, filters relevant PDF content, and generates a response based on the user's input. If no relevant matches are found, it prompts the user for more details.
Final Result
I built a chatbot using a Next.js 14 documentation PDF, and here’s how it turned out:
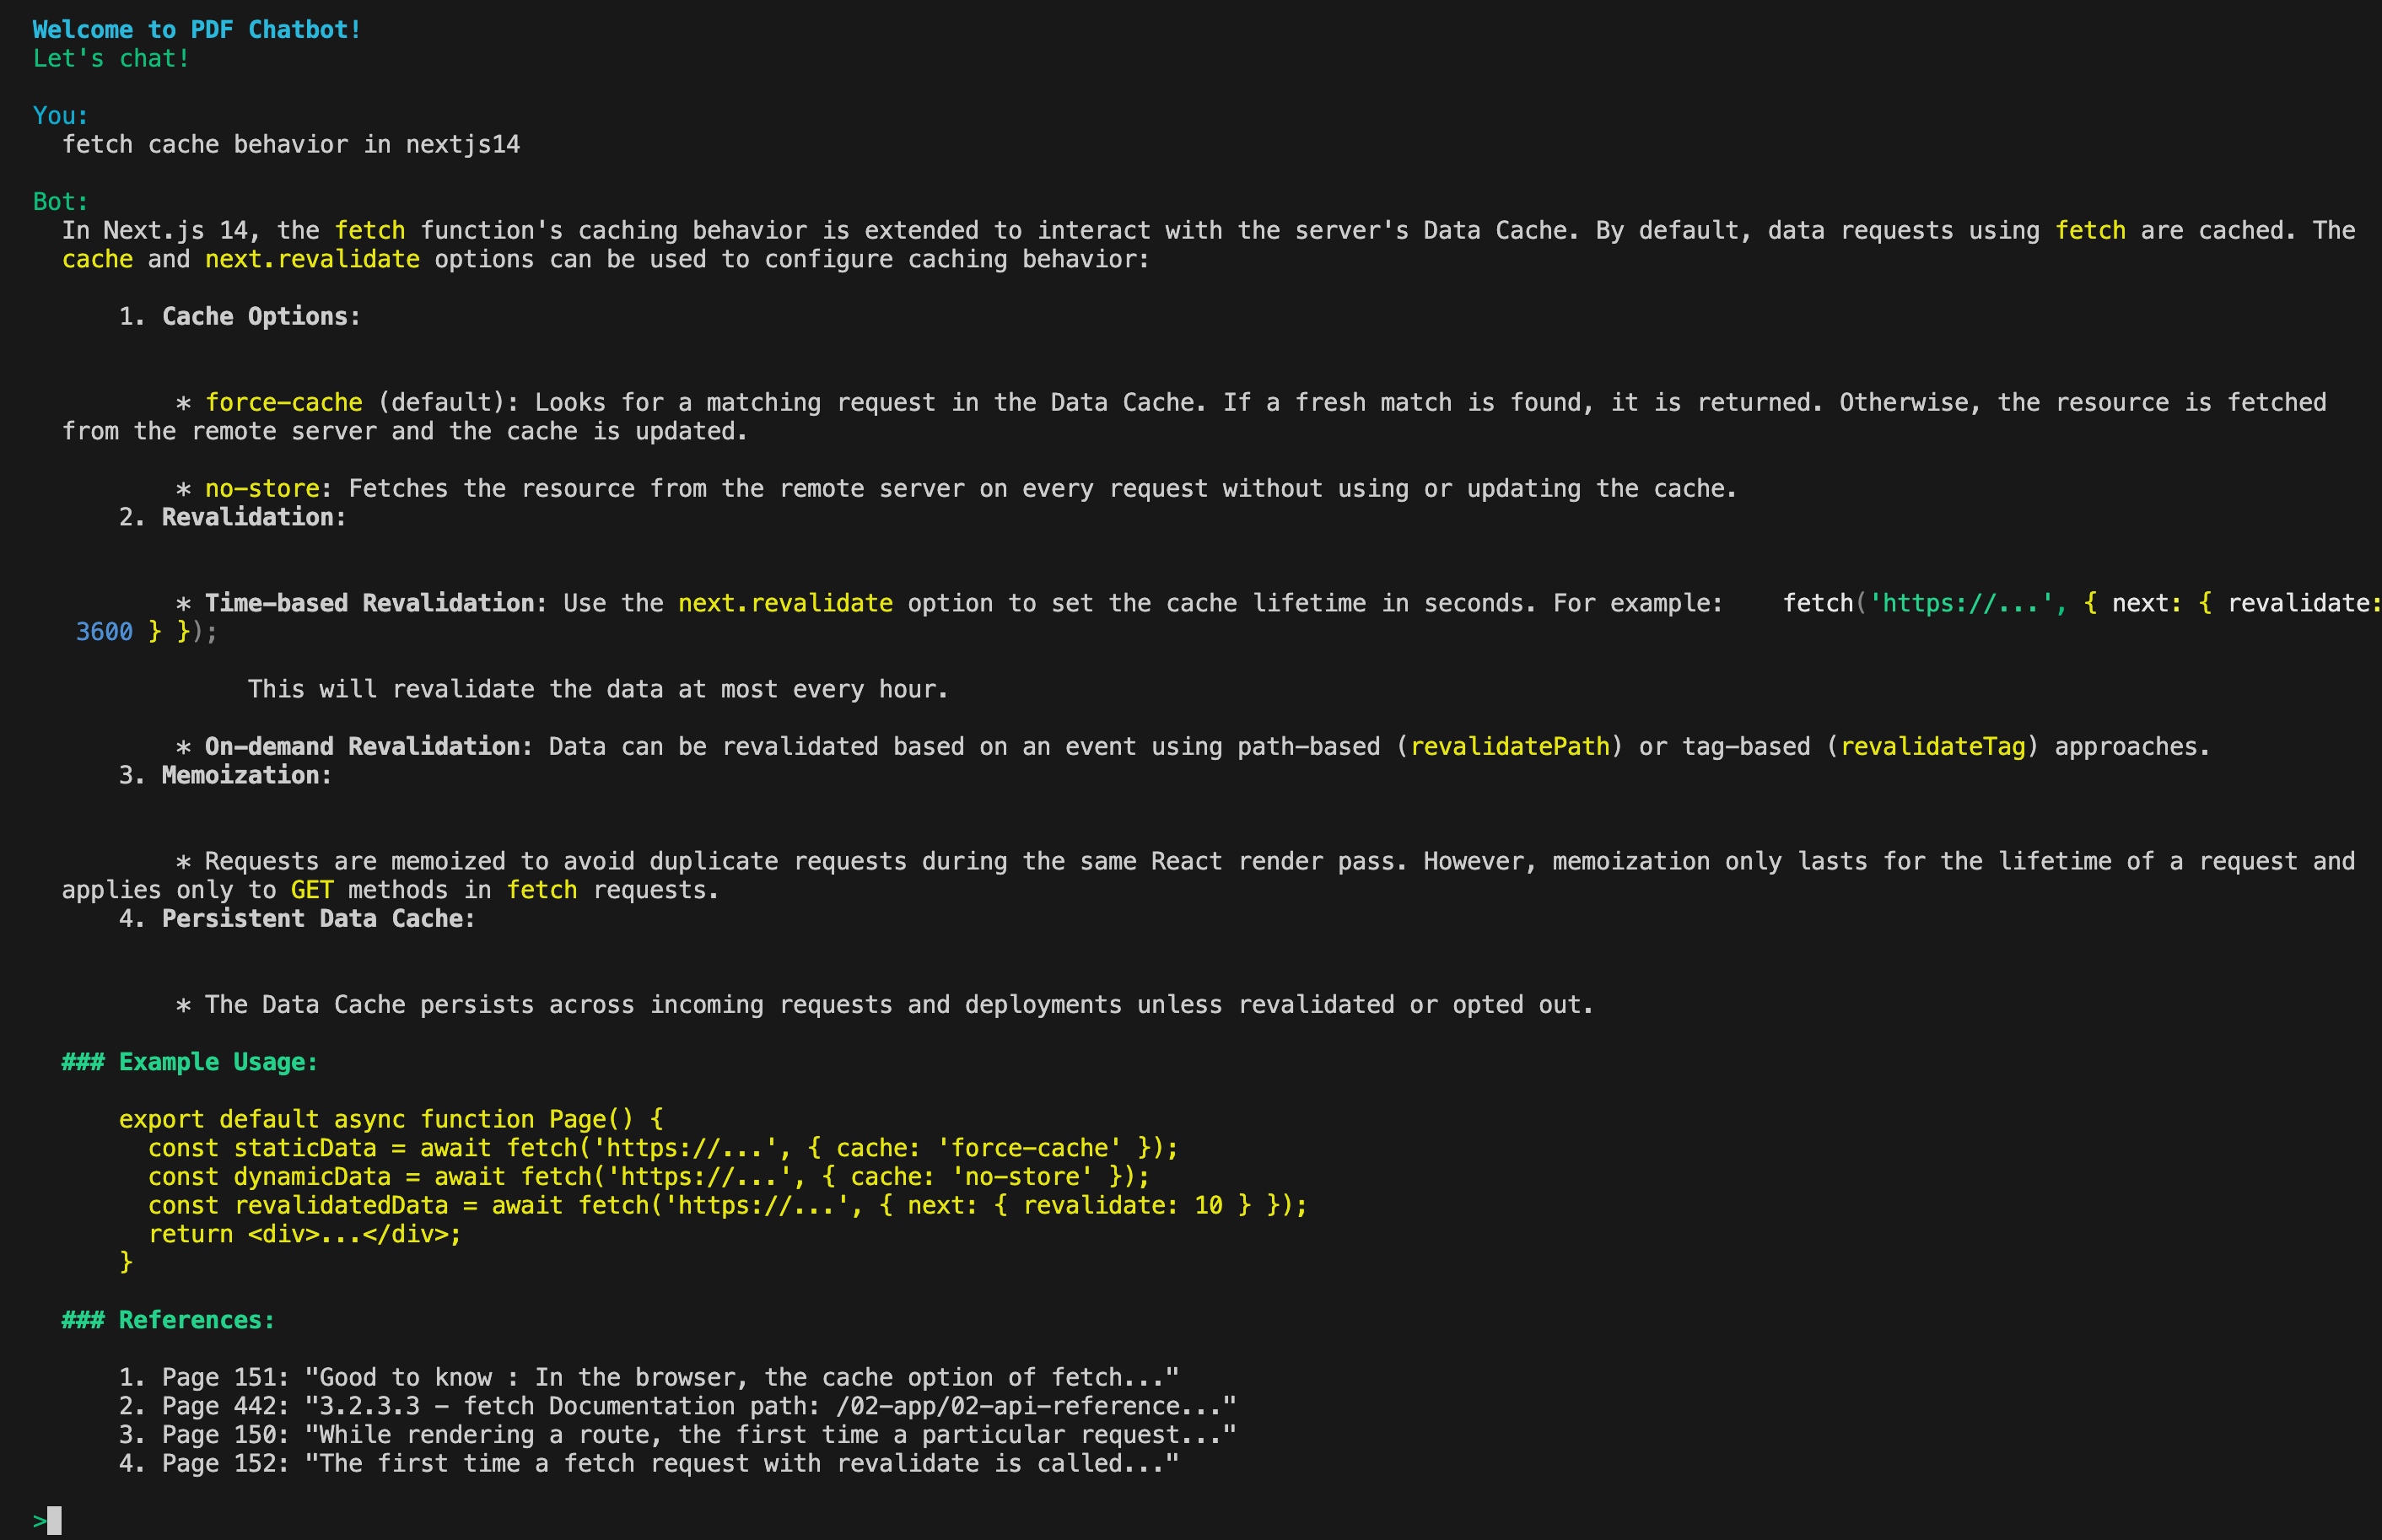
Here’s the full code demo: https://github.com/mbaxszy7/pdf-chatbot-ink.
Next, I’ll build a PDF chatbot using the Next.js15 App Router and a sleek chat interface!